Building HoloLens App with Unity and MRTK Part 4 (Package building and deployment)
Unity project cannot be copied and run on the HoloLens directly as it can be done with PC apps. We need to convert it to a Visual Studio solution that can be compiled into an ARM64 package. This process is very similar when building Android or iOS projects. Lastly, for deployment, we will use Visual Studio.
In this case, “Build” in Unity means “create Visual Studio UWP project”.
Create UWP project
1. Before you build your application remember to add your scene (or scenes) in Build Settings
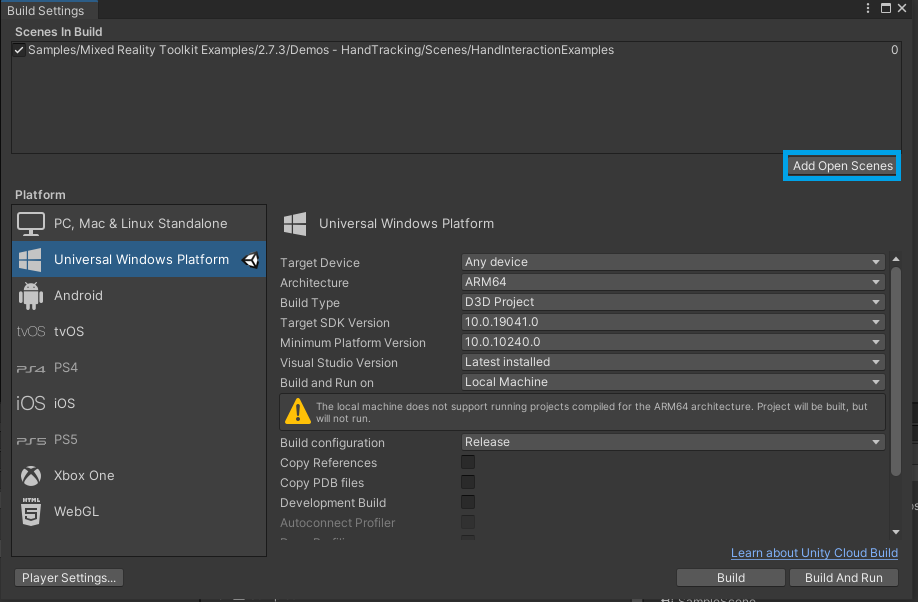
Click Build and choose suitable location for your build.
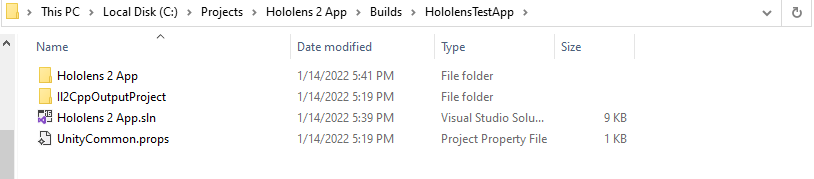
2. When the build process has completed, Unity will prompt Windows File Explorer to open the location you stored the build. Navigate inside the folder, and double-click the solution file (.sln) to open it in Visual Studio:
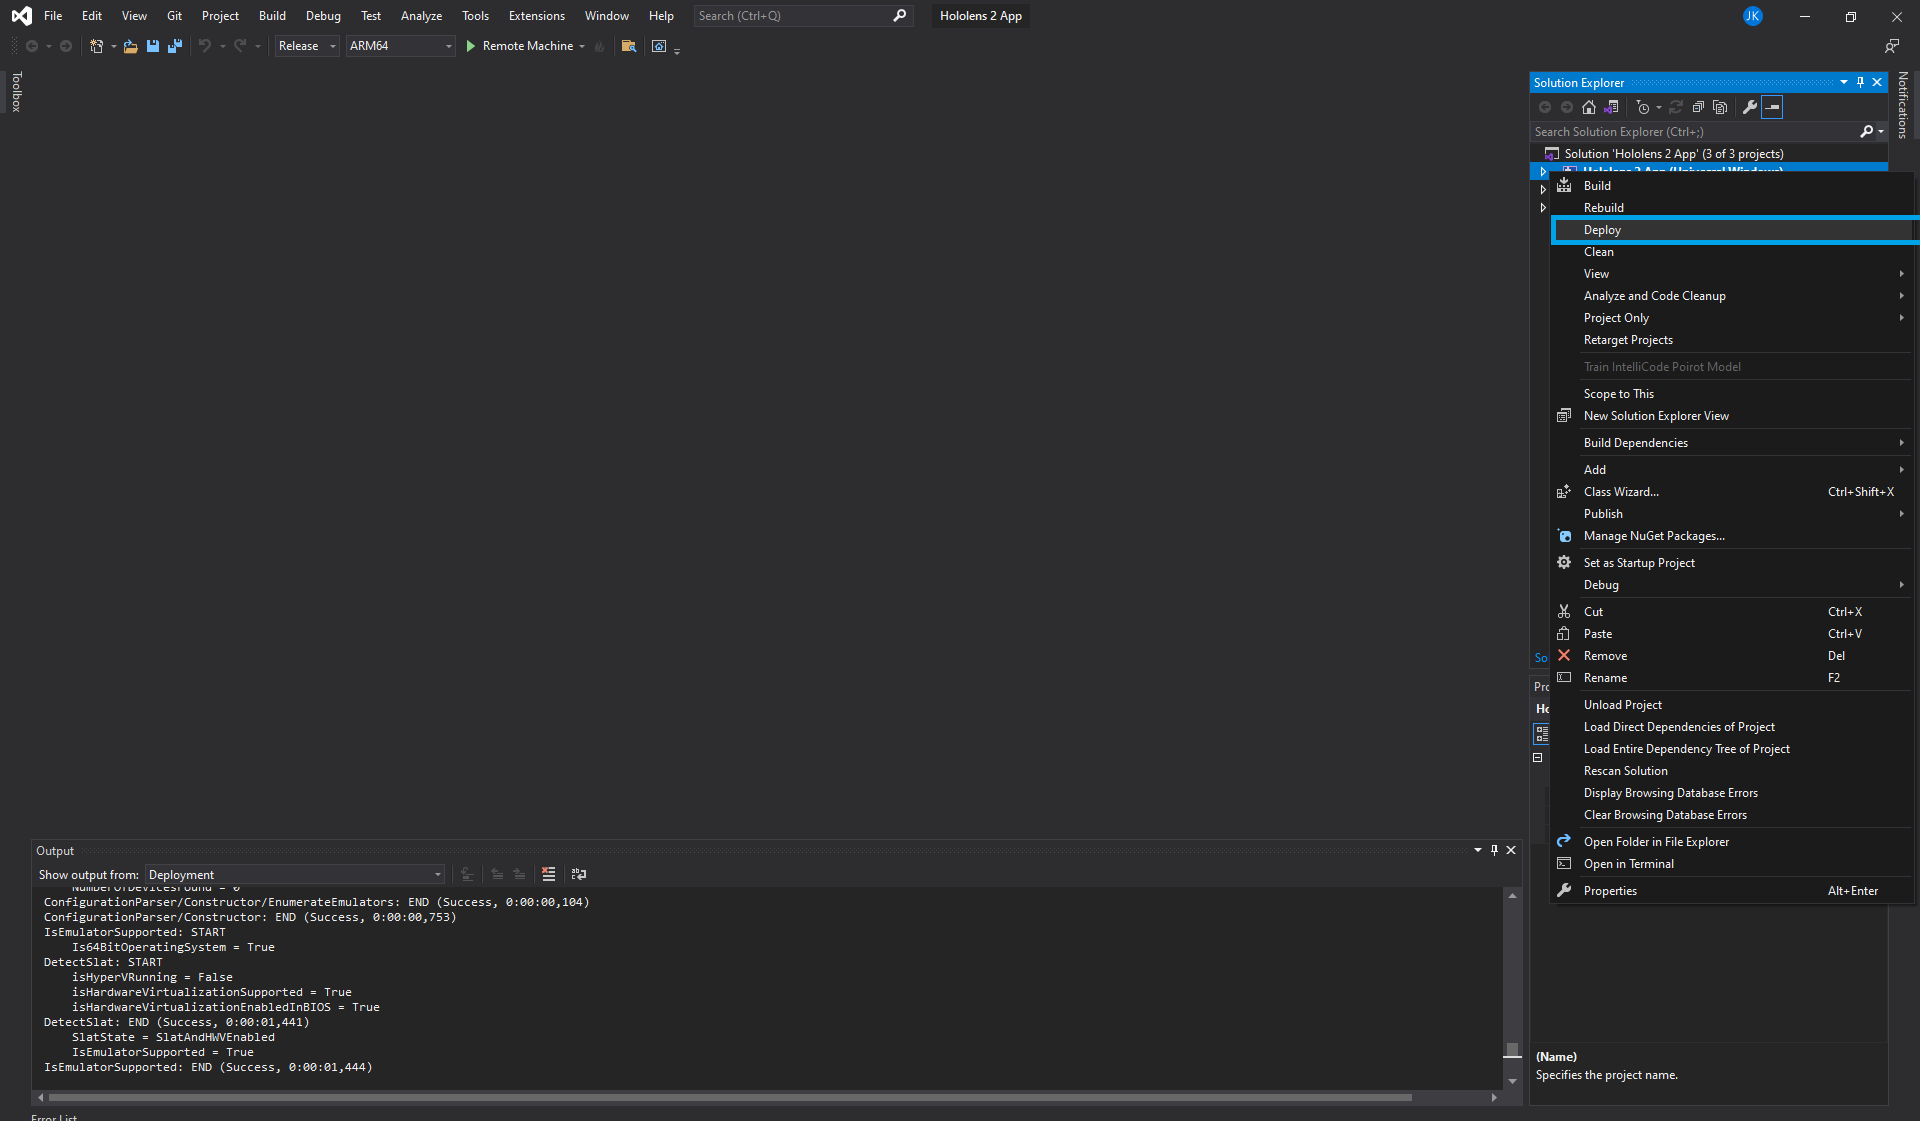
3. Configure Visual Studio for HoloLens by selecting the Master or Release configuration and the ARM64 architecture

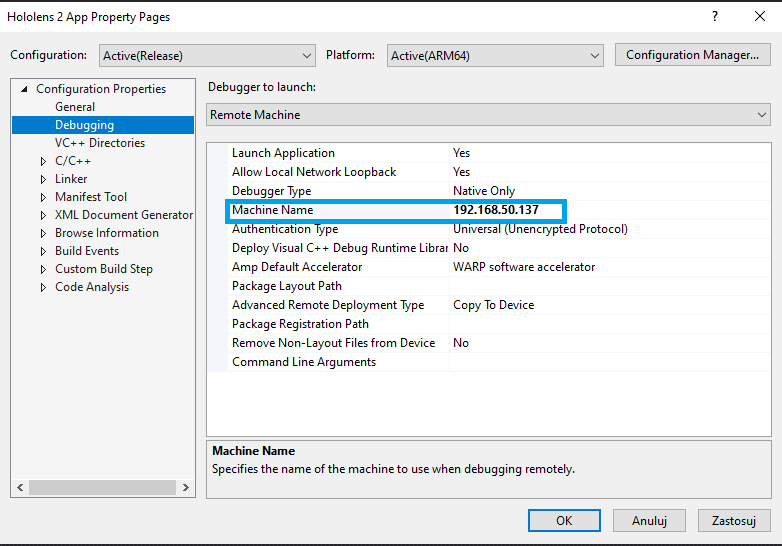
4. In Visual Studio navigate to Project → Properties → Debugging → Machine Name and type in your Hololens IP address
5. Be sure to have HoloLens turned ON and you can now deploy your application directly to the device via WiFi
💡 If you want to have create App package (.appx file) that you can install on any Hololens via Windows Device Portal
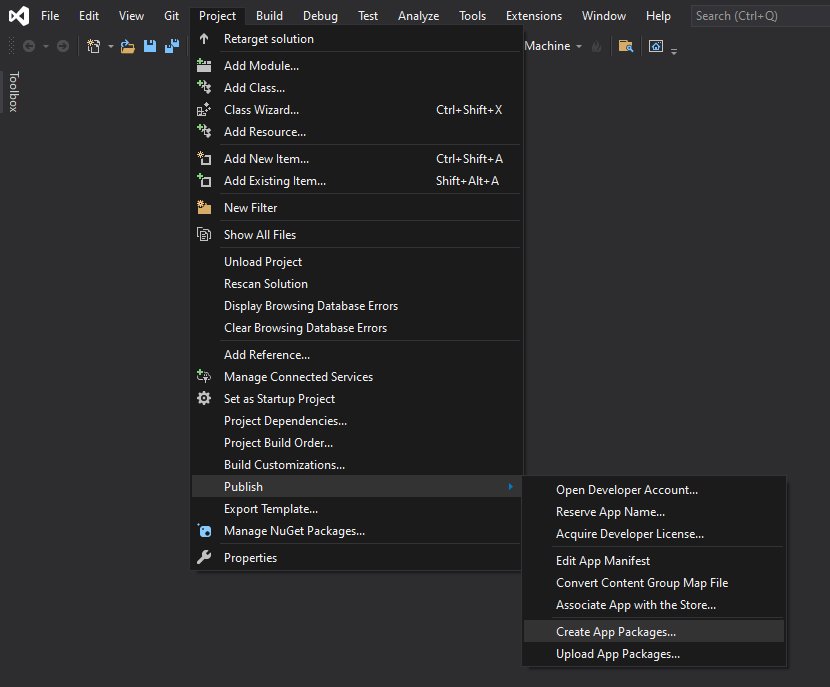
1. Navigate to Project → Publish → Create App Package...
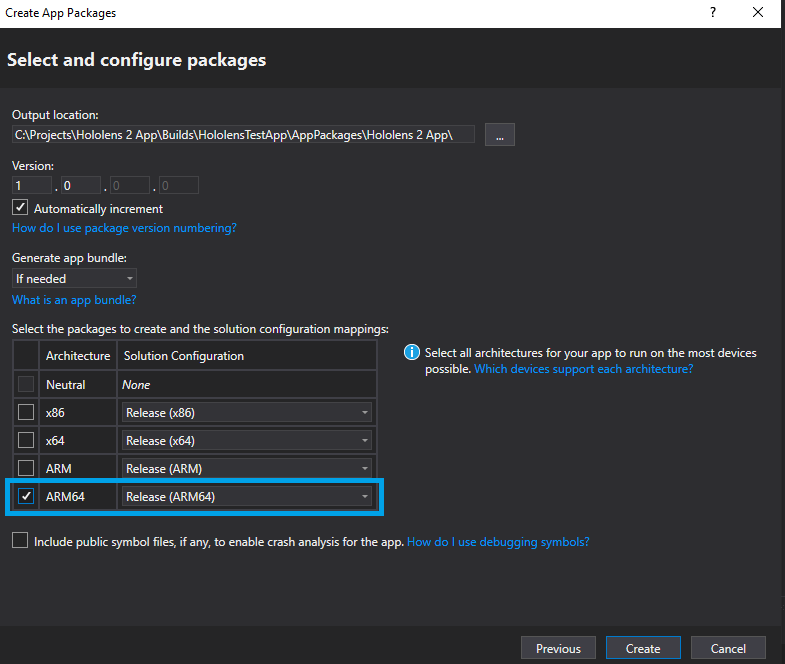
2. Choose Next → Next and uncheck x86, x64 and ARM and be sure to check ARM64 then click Create.
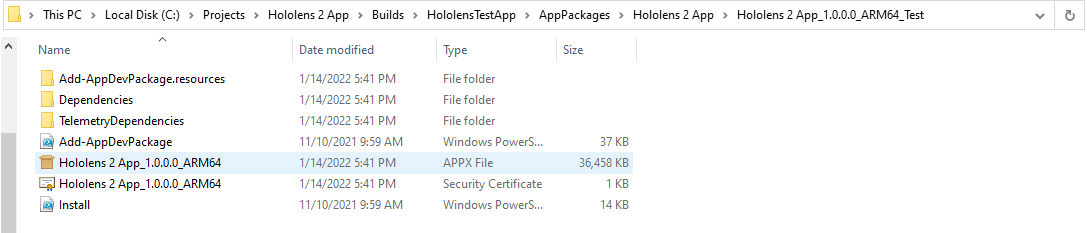
3. Visual Studio will prompt that App Package is ready and window with Output location will pop up. Navigate to the location and enter the output folder. There is the .APPX file which you can choose from your Windows Device Portal to install.
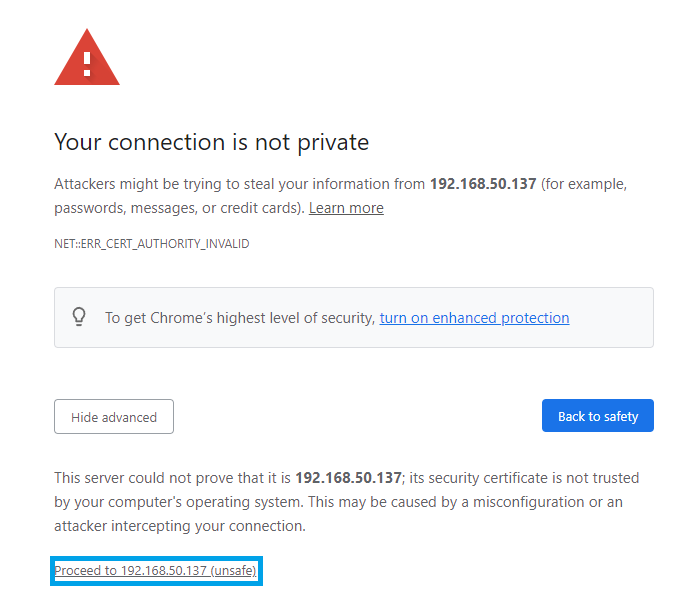
4. Now, when you have the .APPX file ready, open your Windows Device Portal. To do that just go to https://<YOUR_HOLOLENS_IP_ADDRESS> in web browser on your PC. You should see warning prompt. Proceed by clicking Advanced, and then Proceed to [IP address] (unsafe).
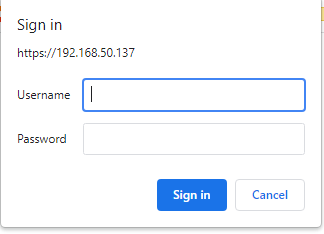
5. Next sign in with Username and Password
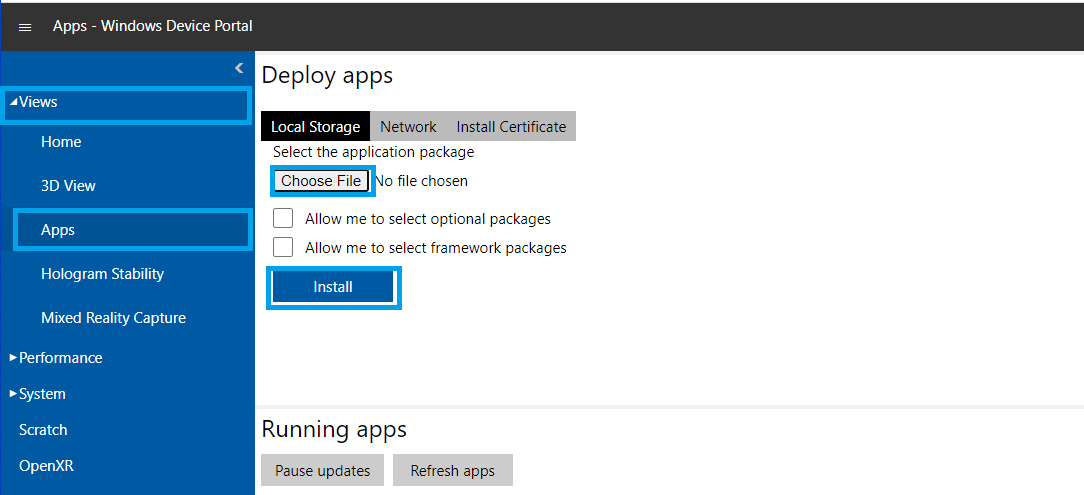
6. Finally in your Windows Device Portal click Views→ Apps then click Choose File and choose your .APPX file then click Install.
💡 If you want to use new (faster) way to build your application you can install Mixed Reality Toolkit Tools which consist of Build Window tool. It is a convenient way to deploy the app to the device.
1. You can use Mixed Reality Feature Tool to import Mixed Reality Toolkit Tools

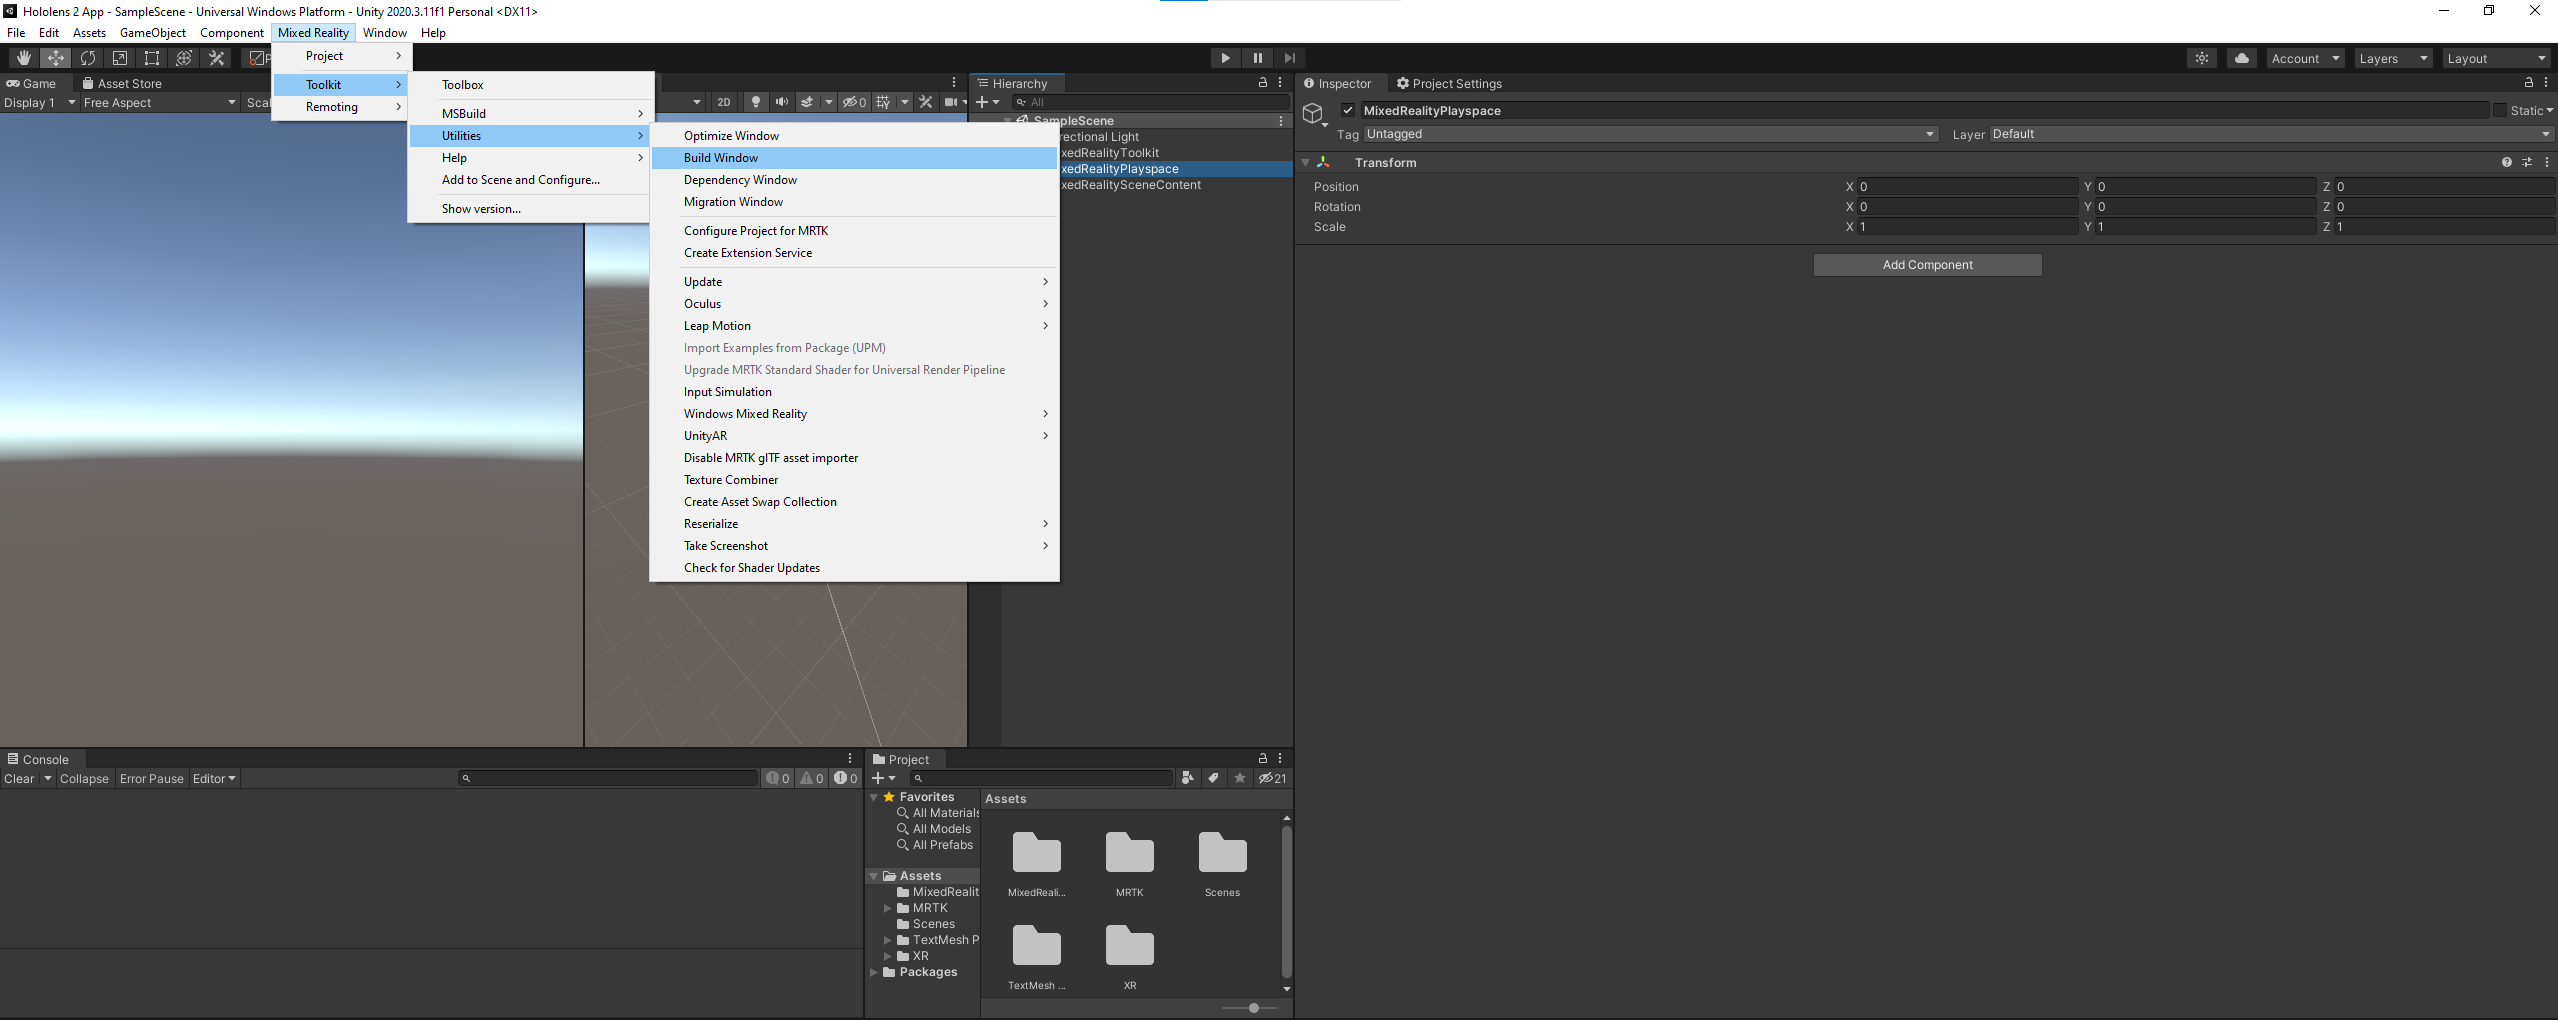
2. You should now see Build Window in Mixed Reality → Toolkit → Utilities.
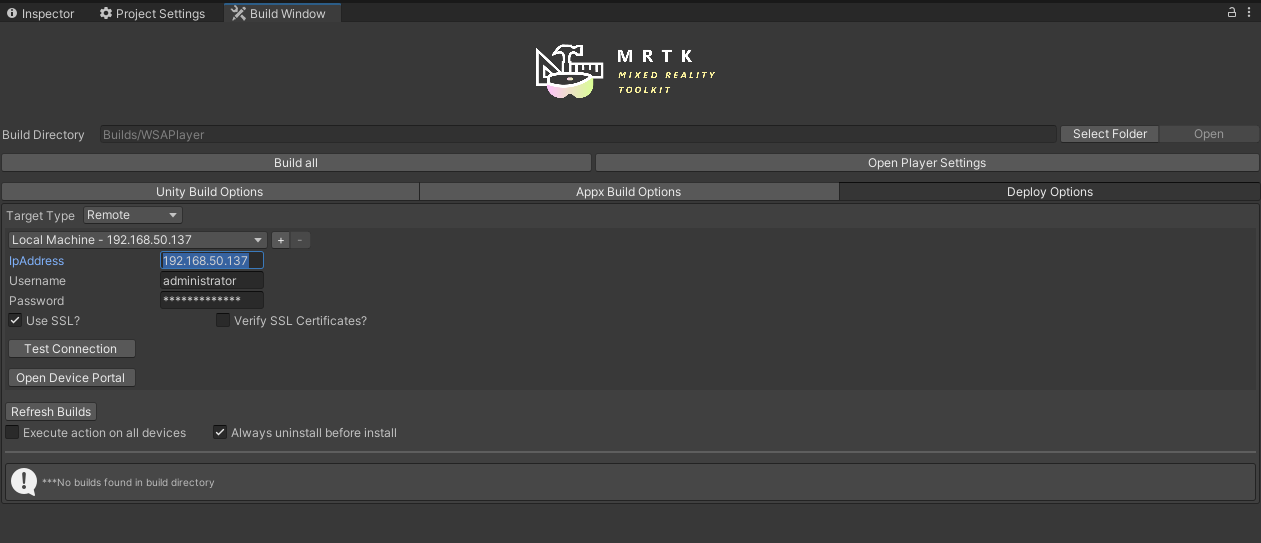
3. If you want to install application directly to your Hololens 2 choose Deploy Options and change Target Type to Remote, fill IpAddress with your Hololens 2 device IP address and Username with Password to your Windows Device Portal. Check Use SSL? Click Build all and after build is done click install.You can also Open Device Portal to install Appx Package. To do so follow the instruction below.
4. (Optional) Choose Appx Build Options and check Multicore Buildto make build faster and click Build AppX in down right corner. Unity will ask to build the Visual solution before (if not builded yet). Choose Yes, Built Unity.
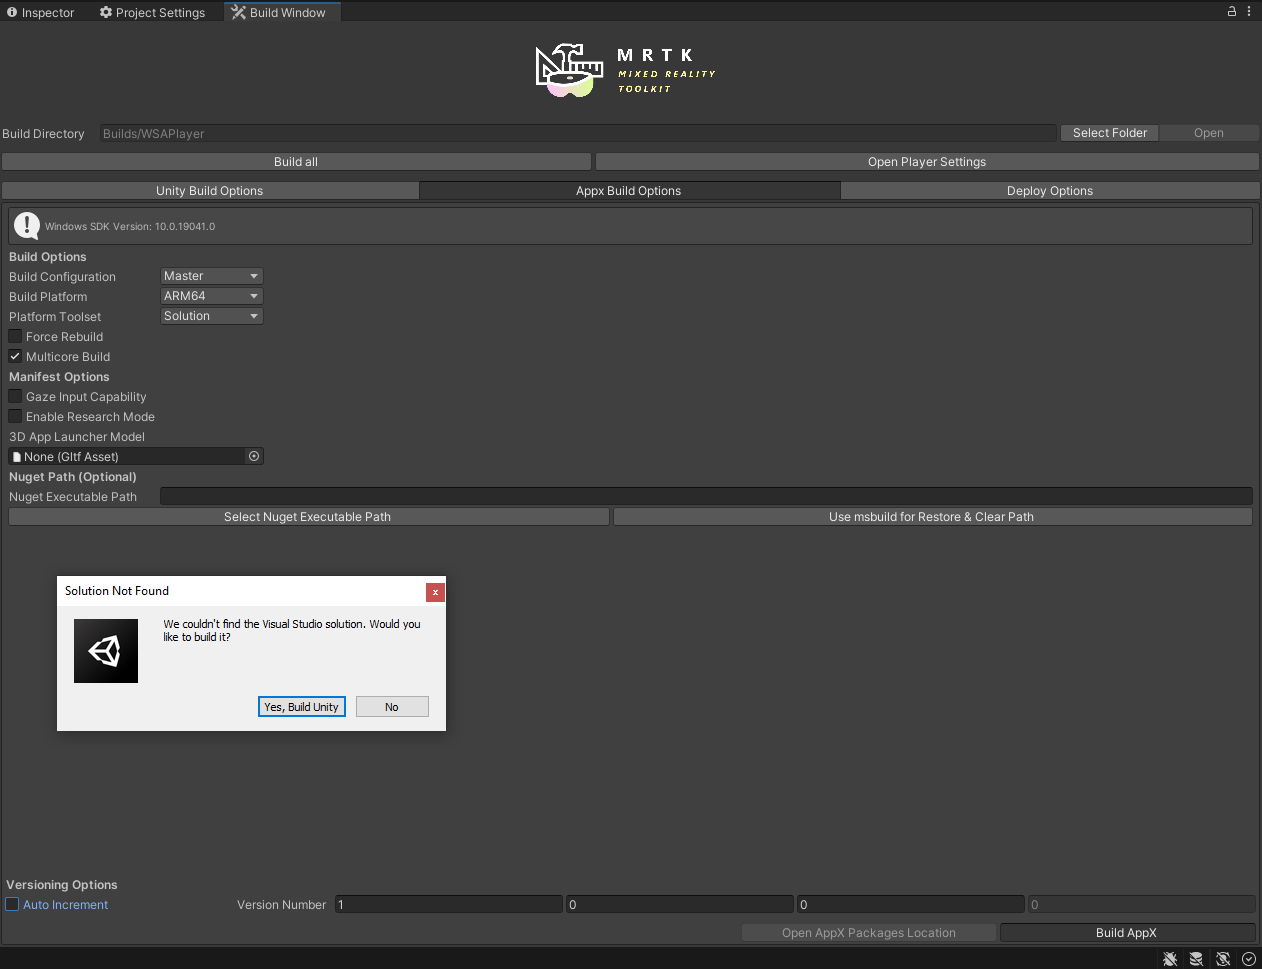
Wait until build is done and now you can choose Appx package from your Windows Device Portal and install it on your device.
After successful deployment, your app will be visible on the list of All Apps in the Start Menu. To run the app, you have to open Start Menu and press/click tile or use voice command to start your app.
If you don’t see the name of your app on the All Apps list, please check the Output log of Visual Studio or Unit’s log console if there was an error that prevented the deployment.
Previous section: [Part 3] -- Application Development